Setting up a real Owncast server
I recently forayed into nebulous territory of setting up a server from scratch, something I've managed to avoid all these years because I had always been nervous about working on things I can't really see!
So you may have seen me in a video installing Owncast in less than a minute. Yeah it's pretty easy. But that was locally on my own computer.
This time I'll be installing it on a real, fresh server! And because I'm not-so server-oriented, I'll try and go over the steps I took to get this set up from a somewhat non-technical-person's point of view. (I'll assume you know some basic Terminal commands.)
Btw, What's Owncast?
The past few months I have been helping @gabek work on a new open source project called Owncast, a self-hosted live streaming solution. Think of Twitch, but it's something you host yourself so you can manage your own video stream.
I've mainly been contributing to most of the frontend development of various portions of the project. I'd gotten pretty good at running Owncast test streams locally to see how things look. But in order for my streams to be seen in a publicly visible way, I would need a place where I can install and run it, that's not my localhost.
That means I'll have to shell out some money and pay for a service to host it. Ok fine. I've been hearing about Digital Ocean from various other tech blogs and conferences I tune into, so I thought I'd give them a try. I had no idea what any of the services from Digital Ocean actually do, but I was told I should get the most basic "Droplet" for $5/mo and it would be good enough for me. Ok I'll try it. I'll do what all the cool, modern tech kids are doing.
Server acquisition process
After signing up for an account on Digital Ocean and giving them my credit card info, I get this screen.
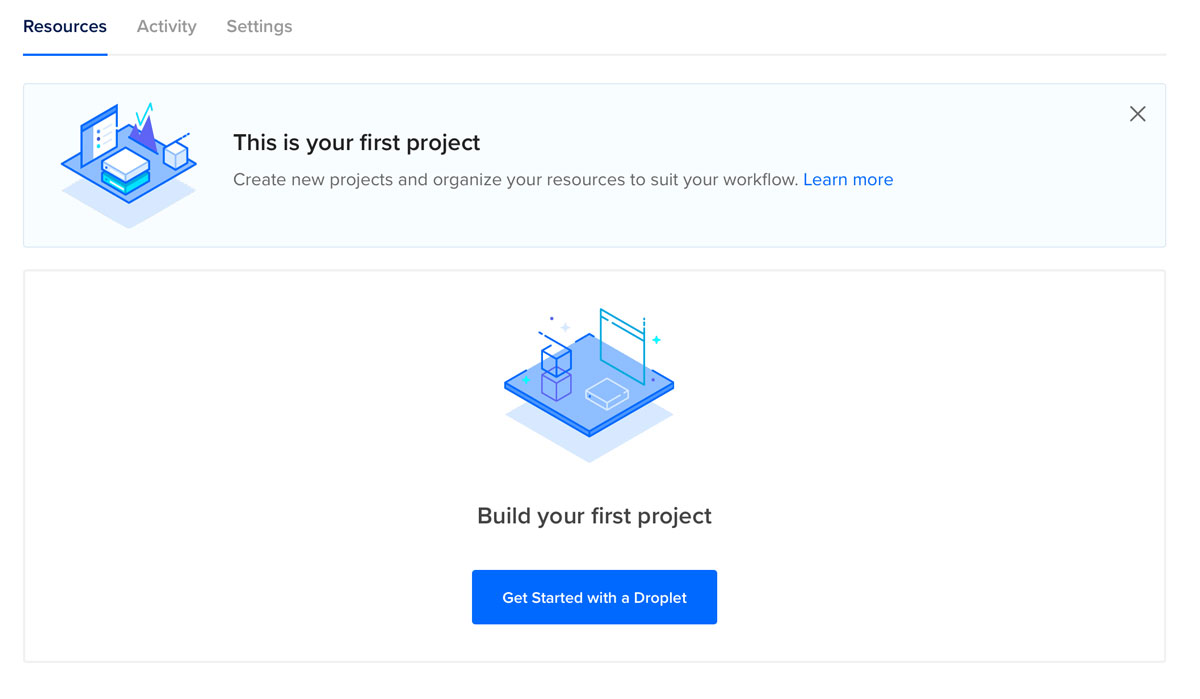
What I see right after I sign up
I was recommended to get a Debian Linux server, so I got the basic default one. Why Debian? Not sure.

Selecting a Debian Droplet
They ask you to name your Droplet, so I was uncreative and just called it "owncast".
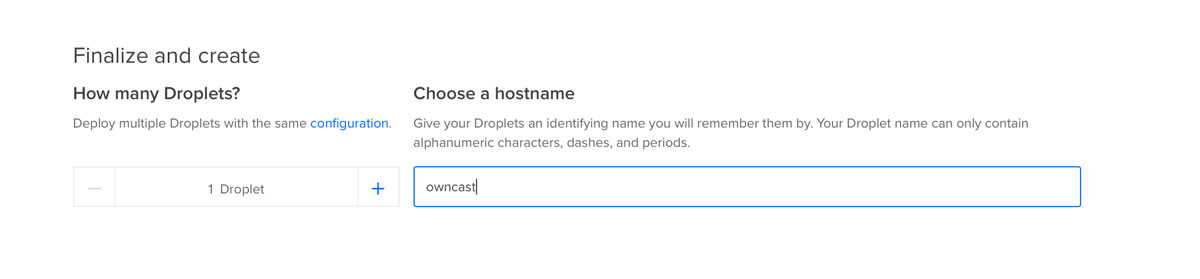
This is the name of your server
Afterwards the server gets set up and you get a confirmation email that will link you more details. You can go to your dashboard and see the resulting server's IP address. You will need that IP address for everything, including to SSH into this server from a Terminal.
Subdomains
If you want to use your new server as a subdomain of a site you already own, you will need to create the new domain name on your current website's DNS Record editor and point it to this IP address you just got.
Setting up the server to install Owncast on your Droplet
So use a command line client (Terminal) to get into your server. Your default user name is
root.ssh root@my.new.ip.address123 That will get you into your
/root directory.Update and install local server tools in preparation
Update the installer, and then install all the basic server tools that you'll need.
apt update
apt install unzip
apt install curl
Go to the Owncast Quickstart documentation
Copy/paste the installer command into your server in your root folder.
curl -s https://owncast.online/install.sh | bashBoom, done!
This will create an
/owncast folder in your /root directory. Go into it and now edit the config.yaml on your server to configure some basic information for about your Owncast instance.vi config.yaml(Sorry, I'm assuming you might know basic usage of vi editor.)
Using a custom image file to use as your logo on your server
You may want use a custom image that you created for your Owncast instance's logo. To do so, open a new tab in your Terminal and
cd to the folder on your local computer where your image file lives. Now send it to your server via scp.scp myLogoFile.jpg root@my.new.ip.address:/root/owncast/webroot/imgThis will put your image in the
/owncast/webroot/img folder of your Owncast instance.Now make sure you also update your
config.yaml to point to that file.// config.yaml
instanceDetails:
...
logo: /img/myLogoFile.jpg
...The
logo field will assume your image is in /webroot.Ok, now start up your Owncast server!
./owncastYou'll see your instance running at http://my.new.ip.address:8080 (note the port 8080).
SSL support on the Droplet
You're not cool anymore if your server doesn't support SSL (https). This step is totally optional (and somewhat complicated for me), but here's what you can do.
Try using Caddy, because it has the least number of complex steps to do this, compared to other solutions.
A) Download Caddy onto your server.
- First get the url to the source file of the Caddy release for the
linux_amd64version of the latest stable release found on the Caddy releases page. That will be theASSETurl to the next step. - Follow the
curlinstructions from the Caddy download page. ReplaceASSETwith the url you copied from Step 1. - Unzip the targz file that you just curl'd.
tar -xvzf caddy_2.2.1_linux_amd64.tar.gzB) Now Install Caddy
Follow all the steps from the Caddy Server Install page
I did the "configure with a
caddy.service" file option. Create that file and put that file in /etc/systemd/system/caddy.service.Not mentioned on the site, but I also had to create a
Caddyfile in the /etc/caddy folder that gets created.Edit with
vi the Caddyfile with this info:yourowncastserver.domain.com
reverse_proxy 127.0.0.1:8080(this could also be the IP address you got with port :8080)
Then follow the rest of the steps on the install page to start and run Caddy.
Never
stop Caddy.Conclusion
Ok that was a lot of steps, on the command line. But I hope it helps someone out there. Good luck!
See the fruits of all my command-lining here: https://owncast.gingervitis.net/
#owncast#digital ocean#n00b